


News
LG G3 D855 Teardown
Date: 01-27-2018 Click: 2906Video Overview

Step 1 LG G3 D855 Teardown
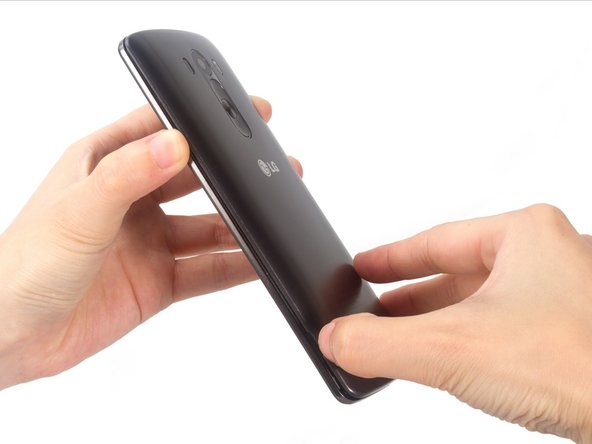
Remove back cover by fingernail easily.
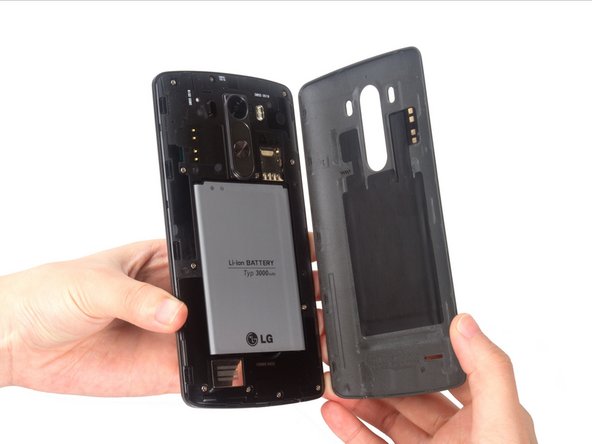
Step 2
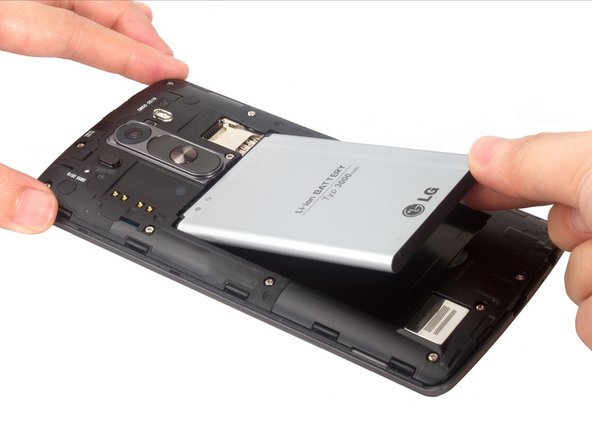
Remove battery.
Step 3
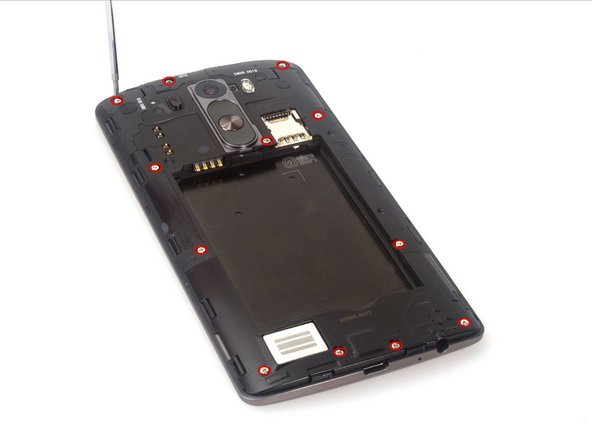
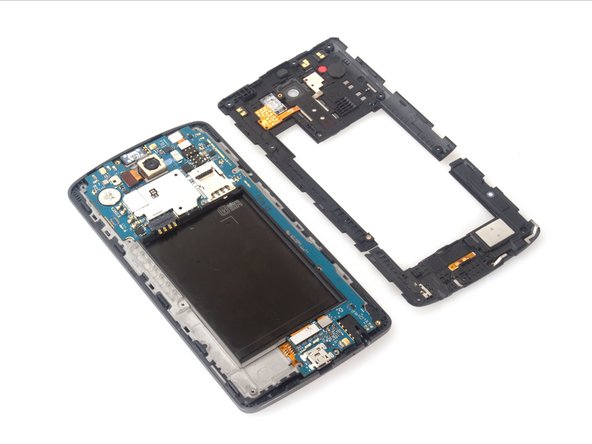
Remove these 12 screws and remove the back frame. Unlike iPhones, these screws are all the same length. The top part of the frame comes with the power button flex while the bottom part of the frame comes with loudspeaker.
Step 4

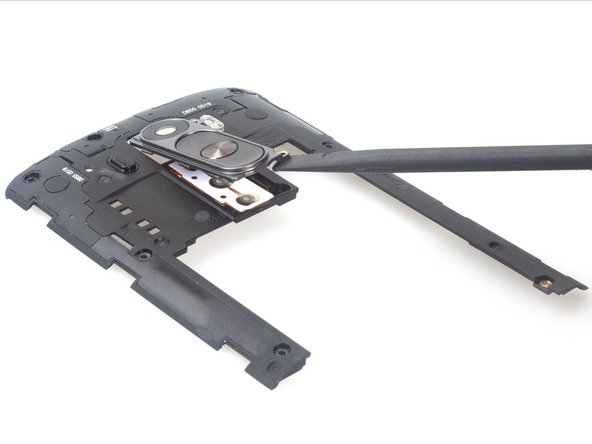
Remove the black, shorter screw and pry up the power & volume button flex cover.
Step 5
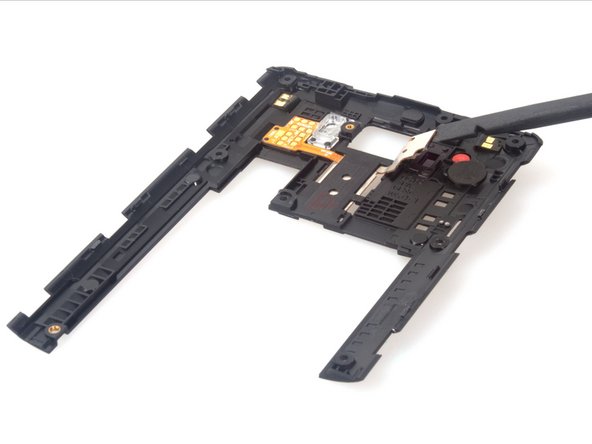

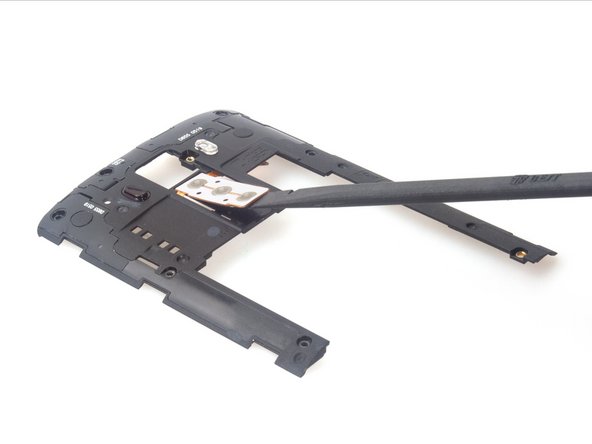
Carefully loosen the power/volume flex from its adhesive.
Step 6

And finally, remove the flex.
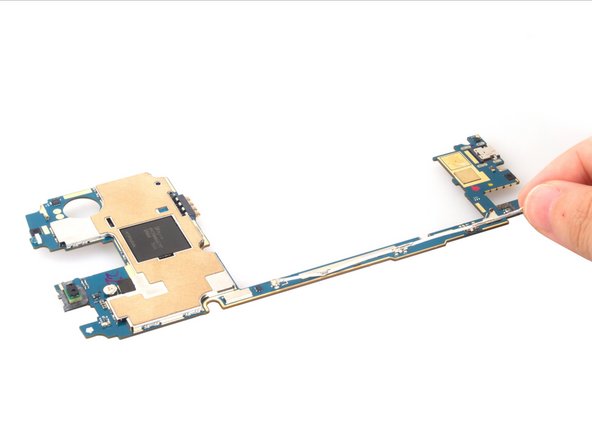
Step 7
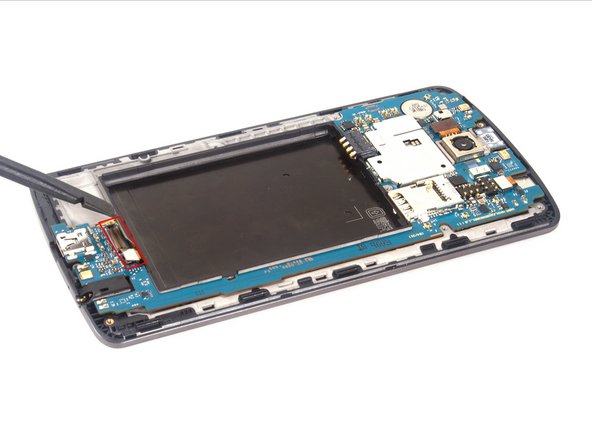
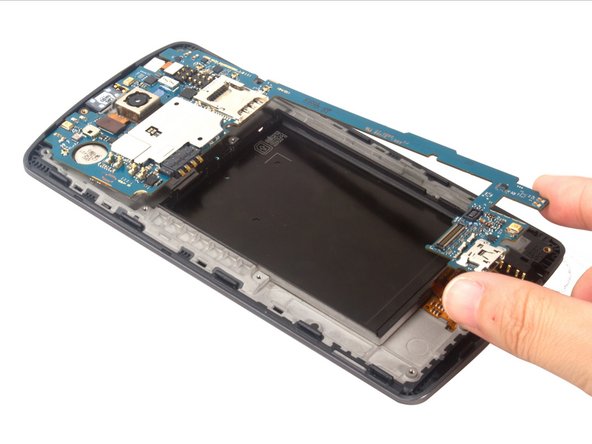
Release the digitizer and LCD connectors. The two cameras are held slightly in the frame. Carefully remove the motherboard with cameras.
Step 8

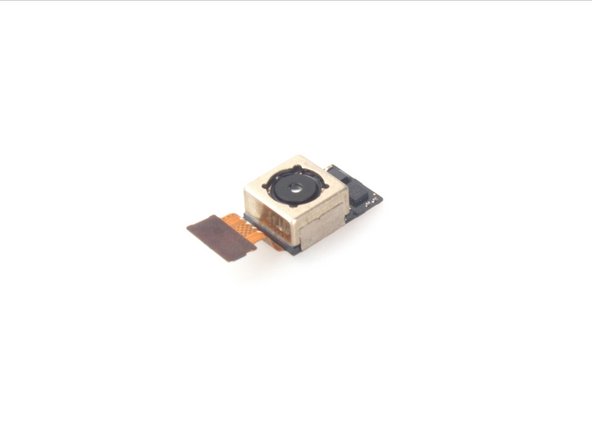
Remove rear camera from motherboard.
Step 9
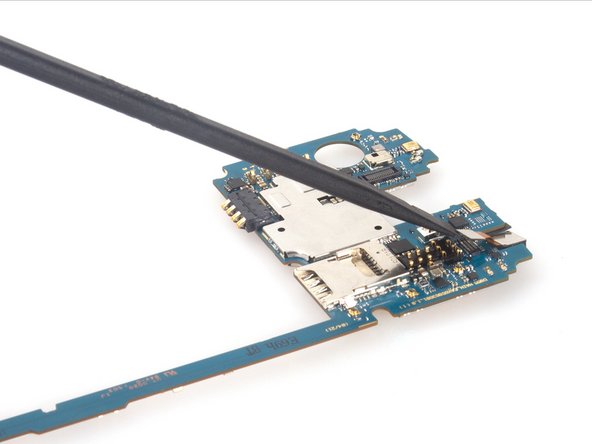
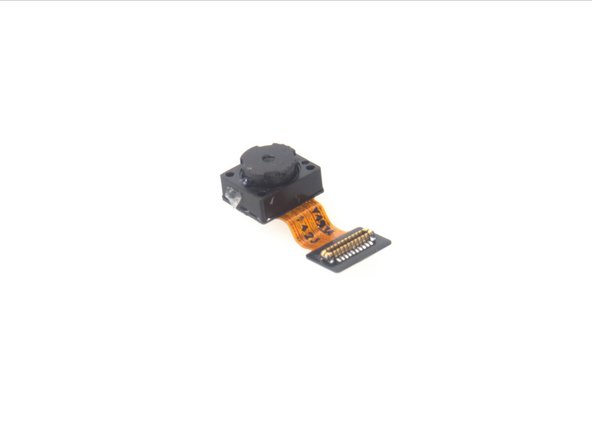
And next, remove front camera.
Step 10
Remove signal cable.
Step 11
Remove vibration motor.
Step 12
Remove earpiece speaker.
Step 13

Remove headphone jack.
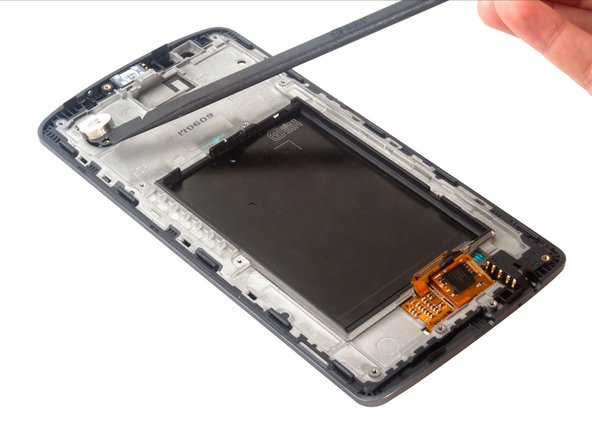
Step 14

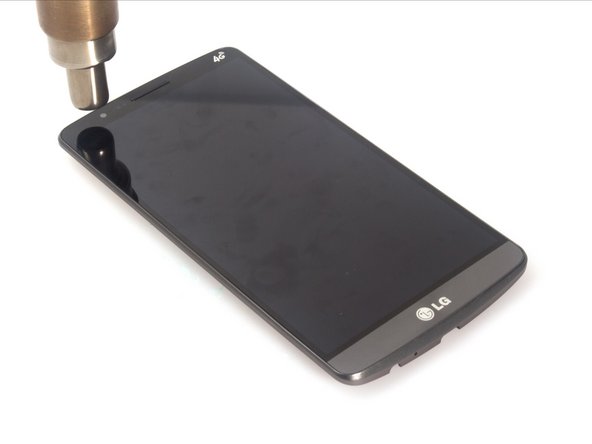

First, loosen the screen flex from the adhesive on the plate. Then heat the screen edges to melt the adhesive sticker. Next, use the guitar picks and opening tools to cut the sticker.
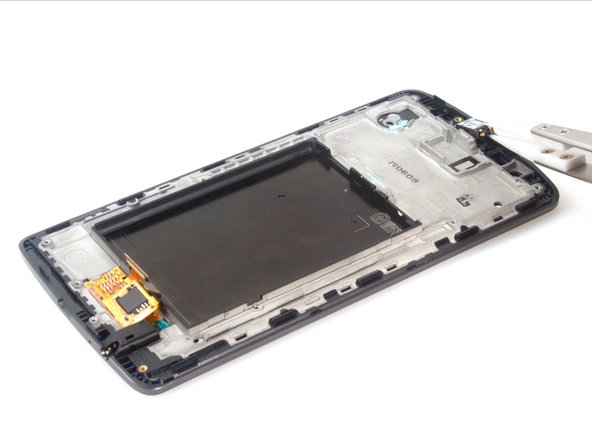
Step 15

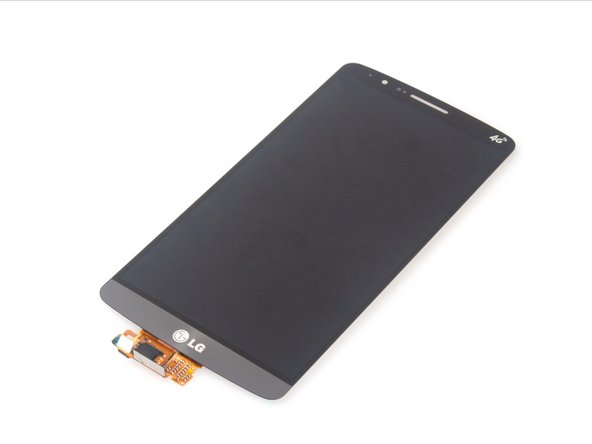
At last, remove the LCD screen.
Step 16
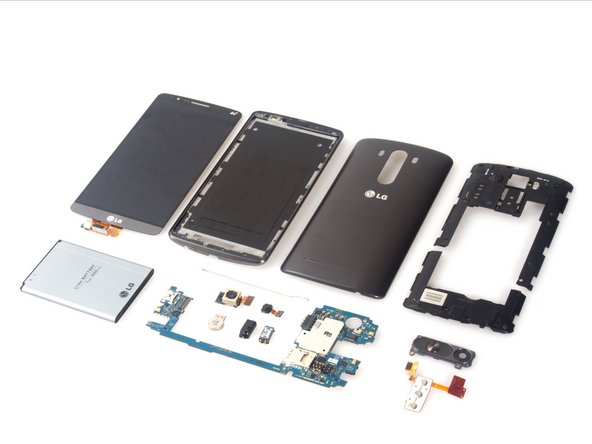
LG G3 teardown is done.
All info from: https://www.ifixit.com/Teardown/LG+G3+D855+Teardown/42288#s97693
